Dropping your phone in water can send you into a panic. It’s not just the immediate splash that’s alarming—it’s the threat of long-term damage to your cherished device. Fear not, because this guide will offer clear steps to rescue your water-logged companion and breathe life back into it.
Stay tuned for some phone-saving tips that really work!
Identifying Water Damage in Phones
Finding water damage on your phone can be like searching for a silent culprit that’s out to ruin your day. Start by eyeing the screen closely; look for moisture, condensation, or fogging trapped inside.
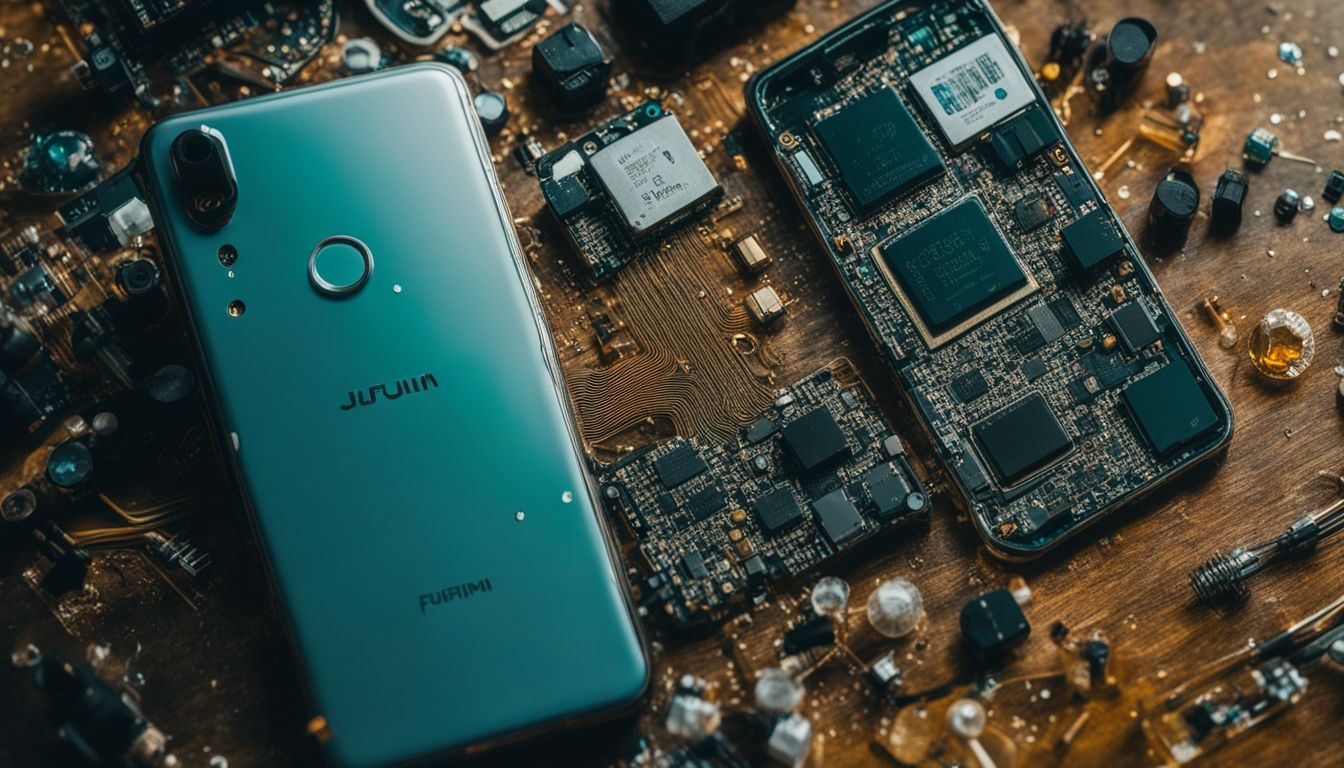
If droplets are hiding behind the glass, it’s a clear sign water found its way in. Next up, inspect all ports and openings for any green or white residue—these marks of corrosion mean trouble is at hand.
The sneaky intruder may leave other telltale signs such as unexpected behavior from the touch screen or glitches when using apps.
Your detective work should also include checking the Liquid Damage Indicator (LDI) – usually located near the sim card slot in iPhones and under the removable battery in some Android models.
A change in color from white to pink or red is like giving red-handed evidence: water has entered and possibly danced across delicate electronic components such as the motherboard.
With an understanding of how to spot these unwelcome changes, you’re better prepared to take swift action towards repair – which leads us straight into grasping what steps we need to follow next to resuscitate your digital companion from aquatic peril.
Steps to Fix a Water-Damaged Phone
To fix a water-damaged phone, start by rescuing it from the water and powering it off immediately. Then, carefully disassemble any detachable parts and blot off excess water before soaking up the moisture with drying agents like silica gel or rice.
Let the phone dry completely before powering it on to test its functionality.
Rescue Your Phone From the Water
Act fast if your phone takes an unexpected dive! The quicker you retrieve it from the water, the better the chance of survival. Grab it immediately, but be careful not to shake or tilt it too much as this could cause water to spread inside, reaching vulnerable components.
Once safely in hand, proceed straight to turning off the device.
Turning off your phone protects it from short circuits and further damage. Just press and hold the power button and shut it down without delay—resist any urge to check if everything’s working because that can do more harm than good.
After you’ve secured your phone from its aquatic mishap, remove any detachable parts such as cases, SIM cards, SD cards, and even battery—if possible—to aid in the drying process.
Time is critical here; successful recovery often depends on how swiftly these steps are taken before moving forward with additional measures for addressing water damage repair. Next up: Power Off Your Phone to ensure safety during drying.
Power Off Your Phone
Immediately switch off your phone the moment it gets wet. Even if it seems to be working just fine, turning it off is crucial as water and electricity can cause serious damage when mixed.
To do this, press and hold the power button until the device shuts down completely. Resist any urge to turn it back on for a quick check; patience here can mean the difference between a functioning phone and one that’s beyond repair.
Next, disconnect all cables or cords attached to your phone. If you have an older model with a removable battery, take it out right away. This step helps avoid short circuits which can lead to permanent internal damage—not something you’d want for your android phone or iPhone models known for their sophistication.
Remember, preventing further electrical issues is key in these first few moments after water exposure.
Disassemble Any Detachable Parts
After powering off your phone, disassembling any detachable parts is crucial to increase the chances of fixing a water-damaged phone. Carefully remove the battery and any other removable components to potentially salvage the device.
This process involves completely dismantling the phone down to its individual parts, allowing for thorough drying and assessment of damage. Acting fast and disassembling the phone are vital steps in increasing the likelihood of restoring it to full functionality after water exposure.
Once you have powered off your phone, carefully removing any detachable parts will aid in potentially salvaging your device from water damage. Disassemble by removing the battery and other removable components before thoroughly drying and assessing for damage.
Blot Off Excess Water
After disassembling any detachable parts from the water-damaged phone, the next step is to blot off excess water. Use a dry cloth or paper towel to gently dab away as much moisture as possible from the exterior of the device.
Pay close attention to all the nooks and crevices where water may be hiding.
Once you have removed visible water, it’s essential to focus on areas that are harder to reach. Gently vacuum around the phone’s openings and seams to draw out any remaining moisture.
Be careful not to use a high-powered vacuum, as this could cause further damage. These steps help in preventing corrosion and other long-term issues caused by lingering moisture inside your phone.
Soak Up the Moisture
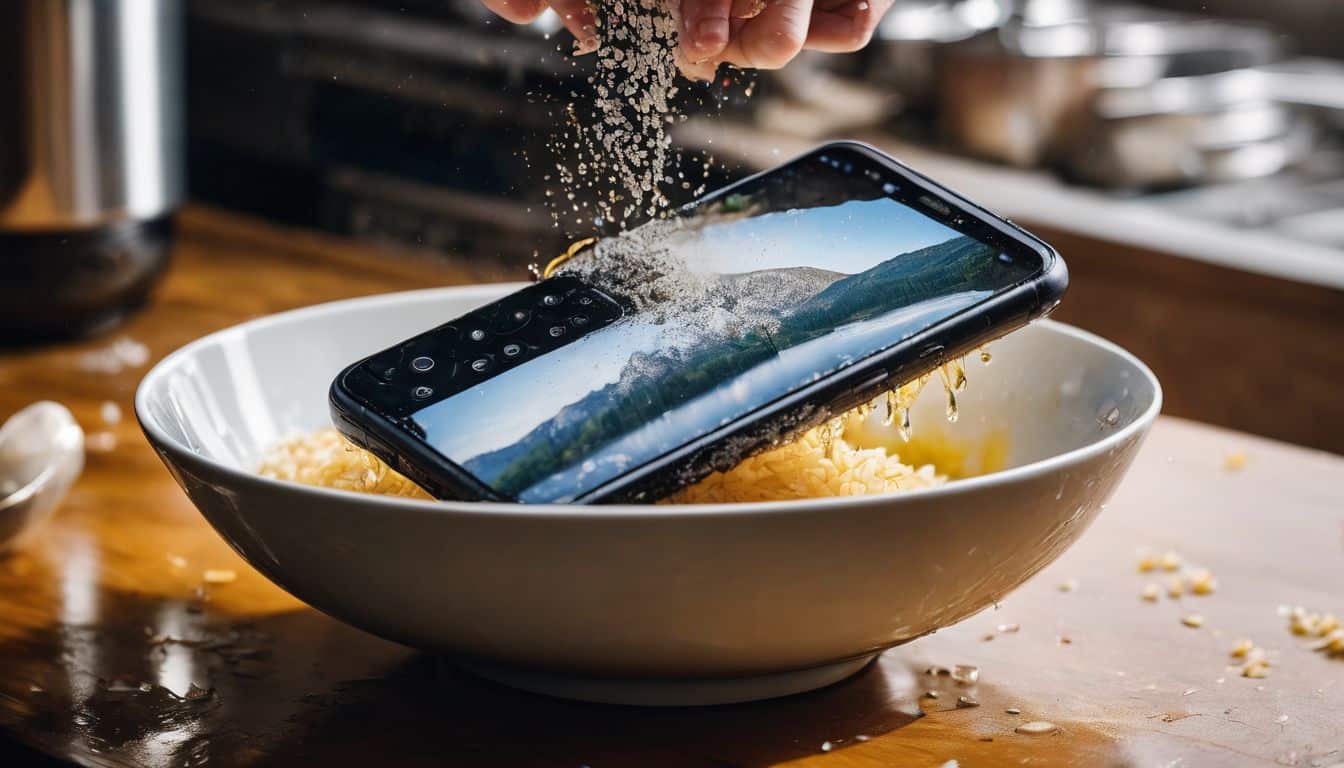
After blotting off excess water, the next crucial step is to effectively soak up the remaining moisture from your water-damaged phone. To achieve this, employ a highly effective method by placing your phone in a bag filled with silica gel packets or uncooked rice.
These desiccants are known for their remarkable ability to absorb moisture and expedite the drying process.
While using silica gel packets or rice, ensure that you completely submerge your phone within them for at least 24 hours, allowing ample time for the desiccants to draw out any lingering dampness.
Silica gel packets have proven to be particularly efficient as they can absorb three times more moisture than rice, making them a superior choice when salvaging a waterlogged device.
Let the Phone Dry
Dab your phone dry with a cloth or paper towel, making sure not to rub it to avoid pushing liquid further into the device. Leave all disassembled components in a drying method for 24-48 hours, ensuring that most moisture evaporates.
For best results, use small packets of synthetic desiccants to absorb excess moisture. Gently dry out the phone without moving its components around too much to prevent further damage.
After removing your water-damaged phone from water, turn it off and gently dry it with a soft, lint-free cloth. Avoid pressing power and volume buttons while drying the exterior of the phone to prevent potential issues with internal circuits and mechanisms.
Power On and Test
Once the phone has been thoroughly dried, it’s time to power it on and test its functionality. Press and hold down the power button to turn the phone back on. Check if the screen lights up as expected and if all buttons are responsive.
Test various features such as the camera, microphone, speakers, and any other functions that may have been affected by the water damage. If everything appears to be working normally, you can consider your phone successfully recovered from water damage.
If there are still issues after powering on the phone, it may require further professional attention or repairs beyond what can be done at home.
Tips for Getting Water Out of Your Phone’s Speaker
Shake your phone gently to dislodge any water droplets from the speaker. Then, use a clean cloth or cotton to dry the speaker and place the phone upside down on a clean cloth for 10-15 minutes to allow the rest of the water to drain out.
This will help prevent any lingering moisture from affecting the sound quality of your phone’s speaker.
After effectively removing water from your phone’s speaker, it’s important to ensure that no excess moisture remains trapped inside. A thorough drying process can save you from potential damage caused by stagnant water within your device.
Common Myths about Fixing Water Damage
There are many myths about fixing water damage, such as the belief that putting your phone in rice will help dry it out, or that using a blow dryer can evaporate the water. We’ll debunk these common misconceptions and provide you with reliable solutions for fixing water-damaged phones.
Does Rice Fix Water Damage?
Rice does not fix water damage to electronic devices like smartphones. Using the rice method is a common myth for repairing water damage, but it’s only capable of partially absorbing moisture from a wet phone.
It can even cause more harm as its tiny grains may get into spaces and lead to additional damage.
While many people believe that placing a water-damaged phone in rice will absorb the moisture, this practice doesn’t effectively guard the device from water damage. Instead, consider using alternative methods such as drying agents specifically designed for electronic devices or seeking professional assistance to avoid further harm and restore your phone.
Can You Blow-Dry Water Out of Your Phone?
Attempting to blow-dry water out of your phone is a common misconception when it comes to fixing water damage. However, this method can actually push the water further into the intricate components of your device, potentially causing even more damage.
Using a hairdryer or compressed air may also lead to the dispersal of mineral deposits and corrosion within the phone, which are by-products of water exposure.
To effectively address water damage in your phone, it’s crucial to focus on gentle drying techniques and professional assistance if needed. In fact, applying heat from a blow dryer or any similar source could exacerbate the problem rather than solving it.
How to Prevent Water Damage in the Future
Protect your phone from future water damage by investing in a water-resistant case or cover, providing an extra layer of defense against accidental spills or submersion. Additionally, consider purchasing a waterproof pouch for activities like swimming or hiking to shield your device from potential harm.
Regularly inspect and maintain the condition of your phone’s waterproof seals and gaskets to ensure their effectiveness in preventing water infiltration.
Another critical measure is to avoid exposing your phone to extreme environmental conditions, such as excessive humidity or direct sunlight, which can compromise its water resistance over time.
Furthermore, familiarize yourself with the IP rating system when choosing a new phone – look for models with higher ratings (e.g., IP67 or IP68) as they offer superior protection against moisture and dust intrusion.
It’s also recommended to practice safe handling habits by avoiding using your phone near bodies of water and promptly wiping off any moisture if it comes into contact with liquids.
By implementing these proactive strategies, you can significantly reduce the risk of water damage and prolong the lifespan of your mobile device.
Conclusion
In conclusion, fixing a water damaged phone is possible if you act quickly. Remove the phone from water immediately and follow the step-by-step guide provided in this article. Be gentle while drying the phone and avoid turning it on until it’s completely dry.
Remember to check your phone’s IP rating for waterproofing and take preventive measures to avoid future damage.
FAQs
1. What should I do if my phone gets water damaged?
If your phone gets water damaged, turn it off immediately, take out any removable parts, and dry it gently with a soft cloth. Avoid using a vacuum cleaner as it might cause static issues.
2. Can I use rice to dry out my water damaged phone?
While some people suggest putting your phone in rice to draw out the moisture, experts recommend using silica gel packets or leaving it in a dry place instead for better results.
3. Is there special software that can help fix my water damaged phone?
Software won’t fix the physical damage caused by water, but keeping your phone’s data backed up using IT security services like WatchGuard or Panda Security can prevent data loss.
4. After drying out my phone, what is the next step to repair it?
Once you’ve dried your water-damaged phone thoroughly, consider taking it to a professional technician who can assess the damage and possibly repair any internal components affected by the moisture.


